Back to Calyxa's Bryce Tutorials
Simple Brycean Roads
A Tutorial for Bryce versions 3 and later


This image was made using one 256 grid terrain and one water plane.

This technique can carve horizontal roads onto your Bryce terrains. See part two for an explaination of how to make roads which 'swoop' over terrains, but read this one first because the beginning and ending steps are explained here.

Although my terminology is specific to Photoshop, I imagine that other image editing programs will support the majority of the tools and techniques used here (though unfortunately, Bryce's terrain editor is not one of them).


Step 1 - super terrain editing
While the image above used a 256 grid, you'll get more interesting results with higher resolution. Of course, higher resolution means more editing, but we can make Photoshop do most of the work.

Create one of Bryce 3.1's new Fractal terrains (hold down shift-control while clicking the 'fractal' button). If you don't have Bryce 3.1, make whatever terrain shape into which you'd like to try carving a simple road.

Use the Copy keyboard command in the terrain editor to copy the g2h to your clipboard. Open a new Photoshop file and paste the terrain image. Create two new channels, name one 'alpha' and the other one 'poster'.


Step 2 - posterize!
Select all in the RGB channel, copy. Switch to the 'poster' channel and paste.

Use Image->Map->Poserize (that's the menu for Photoshop 3, not sure if they've moved it in later versions...) to posterize the copy of the terrain in the 'poster' channel, somewhere between 20 to 30 levels. The fewer levels you use in the posterization, the wider your road can potentially be.


Step 3 - select possible roadpath
Still within the 'poster' channel, use the magic wand tool set to a very low tolerance to select a possible road path. If you don't like the looks of the one you selected, drop it and try a different level.

Once you have a selection you like, use Selection->Save Selection and save the selection to the channel you named 'alpha'.


Step 4 - clean up roadpath
Now working in the 'alpha' channel, paint black all parts of the possible roadpath that you do not want to use.

This is a tedious step. It is best to erase more white from the 'uphill' side of your road. Removing white from the 'downhill' side of the road causes the road to go through a cut.


Step 5 - carve the road
Switch to the 'poster' channel. Use Selection->Load Selection to load up your clean roadpath. Copy. Switch to the main channel showing the original terrain g2h. Your selection will still be active. Paste in the grey value from the posterized terrain.

NOTE if you painted any white onto the alpha channel while doing the clean-up, this step will result in areas of the road which suddenly drop away or suddenly stick up. This can be fixed by selecting the right grey level of your road and using Edit->Fill.

A touch of Gaussian Blur here might be a good idea and may help reduce the spikey shadow artifacts (see the vertical striations above the road in the shadows on the left side of the image at the top of the page).


Step 6 - pave the road
The trick here uses the ABC mode of the Material Lab. See my ABCs of Naturalistic Marbles tutorial for a different exploration of ABC mode.

First, pick a good material for your mountain but note that it must be a single texture material, that is, having only an A texture component.

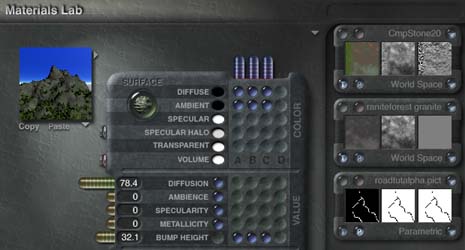
Next, control-click in the C column for Diffuse and Ambient. This will put random textures into the B and C texture channels. In the C texture channel, click the lower left P button to change this component to a 2D picture component. Then click the upper-left pink button to open the picture library. Load your cleaned-up alpha channel made in Step 4 into both the image and mask areas. In the central (mask) image, click the half-white/half-black button to invert the mask. Exit the picture library back to the Materials Lab.

Pick a road-like texture for the texture B channel. Depending on the texture you've chosen for channel A, you may or may not want to have the bump height also use the ABC mode. That way, you can ensure your road is smooth.

If your two textures for terrain and road are quite different, you will see the road texture climbing up the cut areas and running down the fill areas. To avoid this, go back to Photoshop and make a copy of your clean roadpath. Edit that copy so that the white area is even narrower, then use the narrow roadpath for the texture C alpha information.


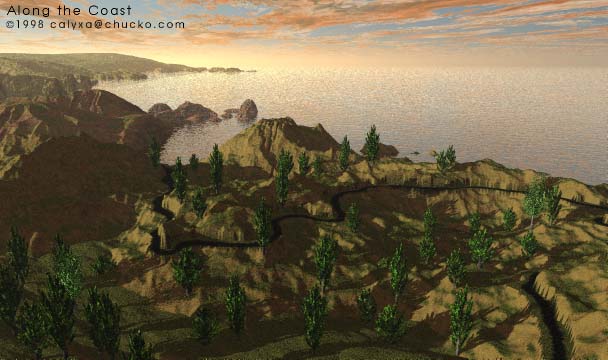
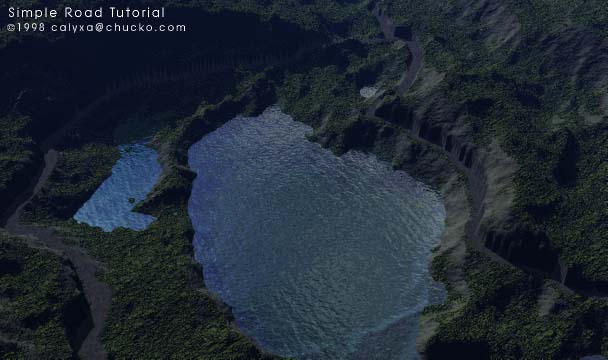
I believe I used a 512 terrain in the foreground of this one. There's quite a bit more in this picture than in the first example on this page.


Back to Calyxa's Bryce Tutorials